Contents
Introduction
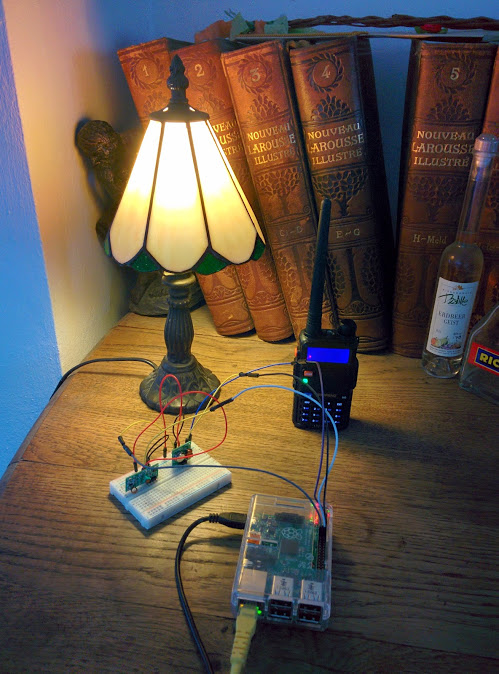
RC power sockets commonly use the 433 MHz band, like many other Short Range Devices (e.g. car keys, garage doors, LPD radios). We will use pilight to sniff the RF signals so we can reproduce them and send them from the Raspberry Pi, in order to switch a lamp on and off.
Materials
– Raspberry Pi, model B2 or B+
– 443 MHz transmitter module FS1000A
– 433 MHz receiver module XY-MK-5V
– Breadboard and wires
– RC sockets, Brennenstuhl Remote Control Switch Set RCS 1000 N Comfort
– Optional: UHF receiver or transceiver to monitor the signal
I also tried this with the Mumbi m-FS300, but without success. The reason for this is that the mode of operation and the protol have changed recently for these sockets, whereas the type number (m-FS300) has not. They don’t have DIP switches anymore, for instance.
Supported devices are listed here: http://wiki.pilight.org/doku.php/devices
Connecting the hardware
The transmitter and the receiver operate on 5 V. However, the receiver passes this voltage to its data pin. So better connect its VCC pin to the 3V3 pin on the Raspberry Pi. Connect one of its DATA pins to pin 12 on the Raspberry Pi. Connect the transmitter DATA pin to pin 11 on the Raspberry Pi. Physical pins 11 and 12 correspond to BCM GPIO 17 and 18, as well as to wiringPi pin numbers 0 and 1.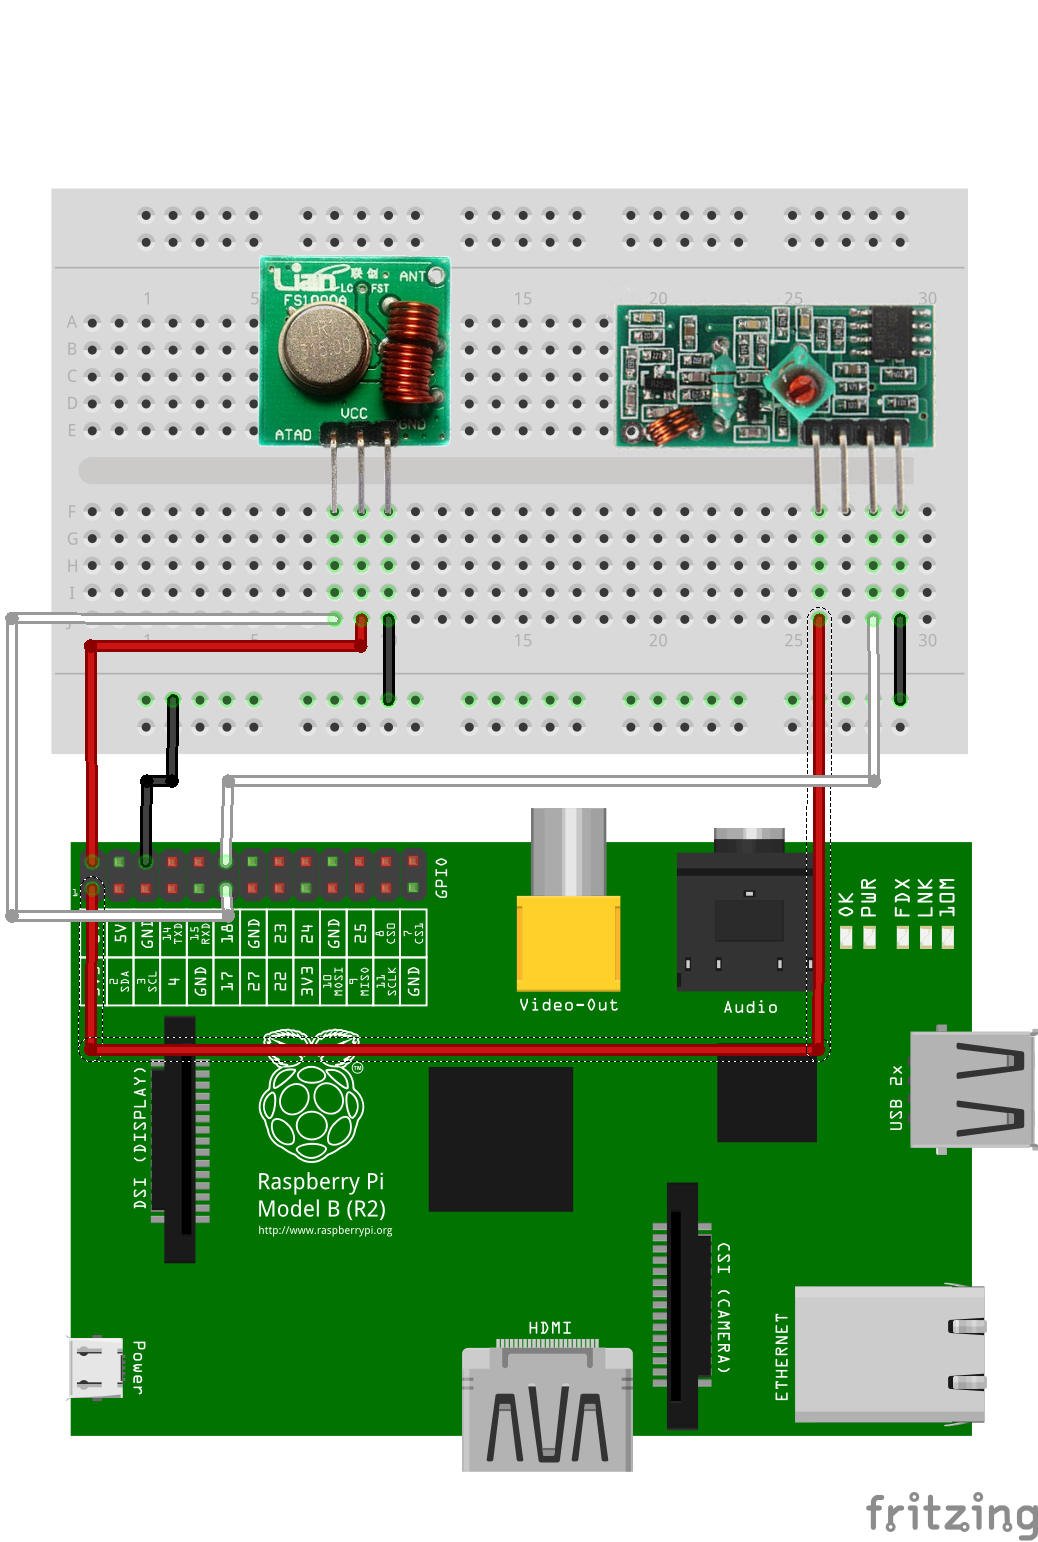
Socket synchronization
Refer to the manual of your sockets here.
On the remote control of the Brennenstuhl a five digit number is set with a five channel DIP switch. Mine is set to 12345. The sockets contain a nine channel dipswitch. The first five are set to the five digit code number. The other four correspond to the A, B, V and D on/off buttons on the remote control. I use the D button here, so I have this DIP setting: 111110001.
Installing pilight
Install the necessary build tools and git:
sudo apt-get install build-essential dialog cmake git |
Clone the repository and run the setup script, e.g:
mkdir git cd git git clone --depth 5 -b master https://github.com/pilight/pilight.git cd pilight sudo./setup.sh |
You’ll be presented a list of configuration options, including all supoorted protocols. If you’re unsure, simply select them all.
The pilight daemon will start when setup finishes successfully. To start and stop the daemon:
sudo service pilight start | stop | restart |
Check the hardware settings:
sudo vi /etc/pilight/hardware.json |
{
        "433gpio": {
                "sender": 0,
                "receiver": 1
        }
} |
These should correspond to the wiringPi pins 0 and 1 mentioned above.
Sniffing the RF signal
Start receiving:
pilight-receive |
Now hold the remote control close to the receiver and press one of its button. I got a lot of rubbish, probably due to the receiver’s poor quality, but one of the JSON objects looked like a plausible response. I pressed ‘D Off’.
{
	"code": {
		"systemcode": 0,
		"unitcode": 29,
		"state": "off"
	},
	"origin": "receiver",
	"protocol": "elro_hc",
	"uuid": "0000-00-00-e3-b260a3",
	"repeats": 5
} |
This turned out to be the correct guess.
Controlling the RC socket
Once we know the protocol, the system code and the unit code we should be able to communicate with the socket. Turn the socket on:
sudo pilight-send -p elro_hc -s 0 -u 29 -t |
Turn it off:
sudo pilight-send -p elro_hc -s 0 -u 29 -f |
Now integrate this with your shell script, python program, web service or whatever suits your needs.
2 thoughts on “Remote-controlled mains sockets with Raspberry Pi”
Comments are closed.